How to Set up your Outlook (2007) account:
This document will guide you through the process of configuring Outlook to access your IoE email account and to Archive your old email items according to the SSRU policy. The main reason you might need to do so is to configure your Vista profile for the first time if you need to do so without assistance. The whole procedure does not take more than a couple of minutes. In case you simply want to change your Auto Archive behaviour, Jump to the last section.
Account Settings:
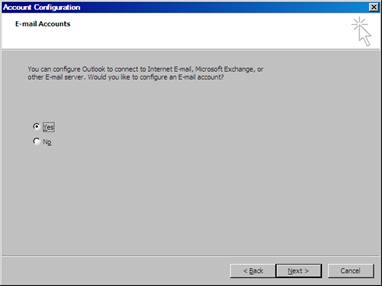
You start by launching Outlook (\Start\All Programs\Microsoft Office\Microsoft Office Outlook 2007). If your account has never been configured (that’s the case when you will use your Vista profile for the first time) the Account Configuration wizard will appear:
|
1
Select Yes and click Next. |
2
Outlook may pick your Name
and Email addresses automatically,
if it does not, type them in. Check the Manually
Configure server settings [...] option and click Next. |
|
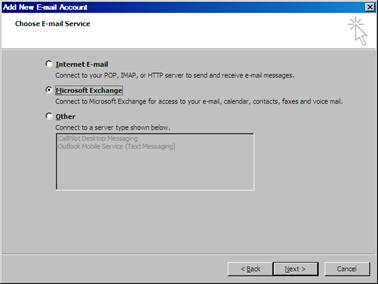
3
Select Microsoft Exchange and click Next. |
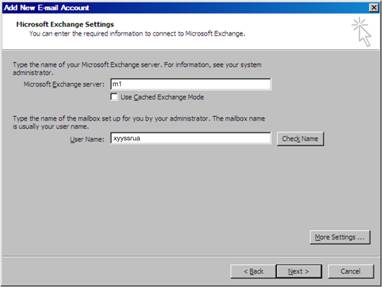
4
Type m1 in the Microsoft Exchange server box, uncheck the Use Cached Exchange Mode option, write your user name in the User Name box and click Check Name. If all is right, the Exchange Server value should become m1.ioead and your full name should appear in the Username box. Click Next. You may be prompted to confirm, click OK or Next to finish the wizard. |
|
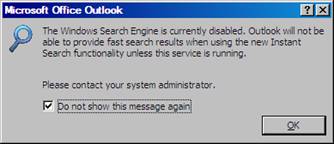
5
(if needed) At this point the main Outlook window should appear along with the following pop-up:
Select Do not show this message again and click OK. |
6
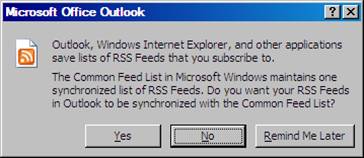
(if needed) Another useless pop-up should appear:
Select No. |
Archive Options
At this point you will need to configure the Auto Archive options: these options may vary for different people, what follows are our typical settings, but you should feel free to change what you need to adjust to your needs. You should always set your Archive options, however: we only have 140MB of space on our mail server, so unless you regularly delete (forever) old messages you do need to save them locally on our file servers (i.e. Archive old Items).
|
7
(access you current Archive)
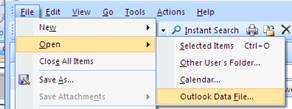
Click File\Open\Outlook Data File, and browse to N:\Outlook 2000. Most people will have only one file there, named after their
username, select it and click OK. If more than one file is there, and you are not sure about which one
to choose, feel free to seek for help! |
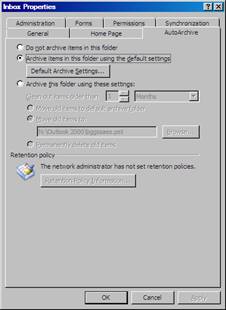
8 Right Click your Inbox, click Properties and select the AutoArchive tab. Select Archive Items in this folder using the default settings and click the Default Archive Settings box. |
|
|
|
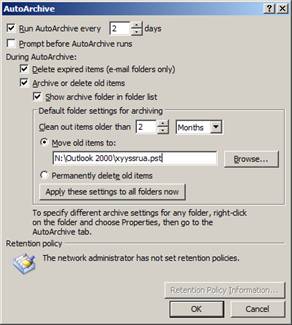
9 Our standard configuration looks like this. Make sure the Move old items box points to the same archive file you have selected on step 7 (click Browse if needed). Click OK to close this dialog and OK again on the form below. |
|
10 All your email folders will now have the chosen AutoArchive settings. You might want to tweak this behaviour for some peculiar folders. The typical example is Deleted Items: most people will want to simply delete old messages in there. To change the Archive settings on individual folders, Right Click on it, click Properties and select the AutoArchive tab. Choose Archive this folder using these settings and change the values to what suits you best. END! |
|